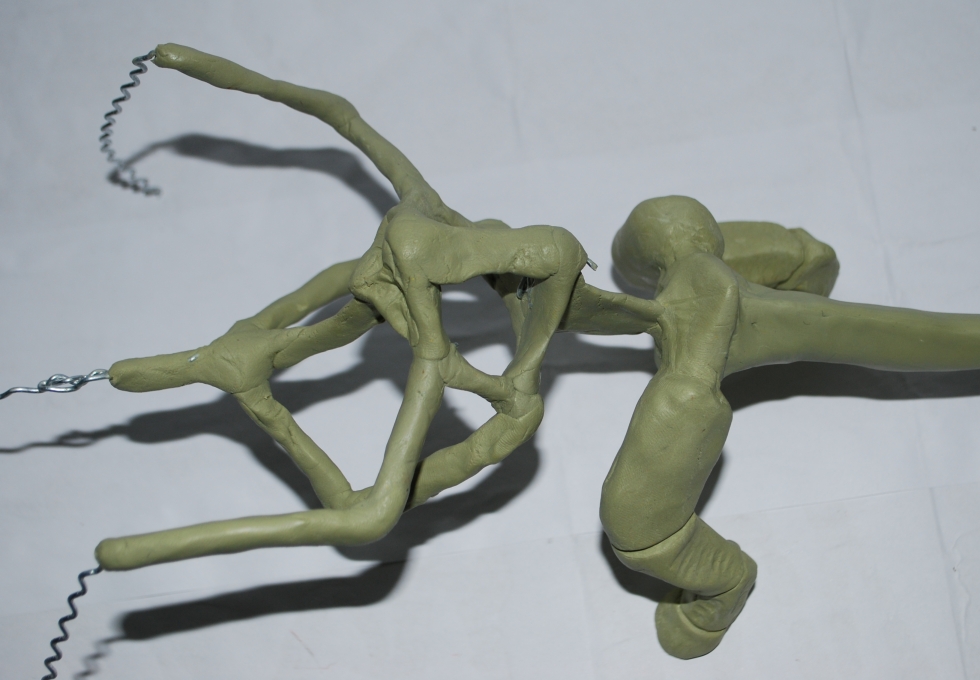
Skeleton Construction
I use clay modelling wire to sketch a basic skeleton. I tend to take quite a while over this part – repeatedly rebending the joints and posing the body until I get something I’m happy with. This sometimes takes me several days as I like to view the model from lots of different angles to see if it all looks and feels balanced.

Once I’m happy with the wire skeleton I fix the shape with Milliput bones.

On previous models I have reposed the model after this stage but it’s not ideal. I cut away the Milliput around the joints.
Basic Body Structure
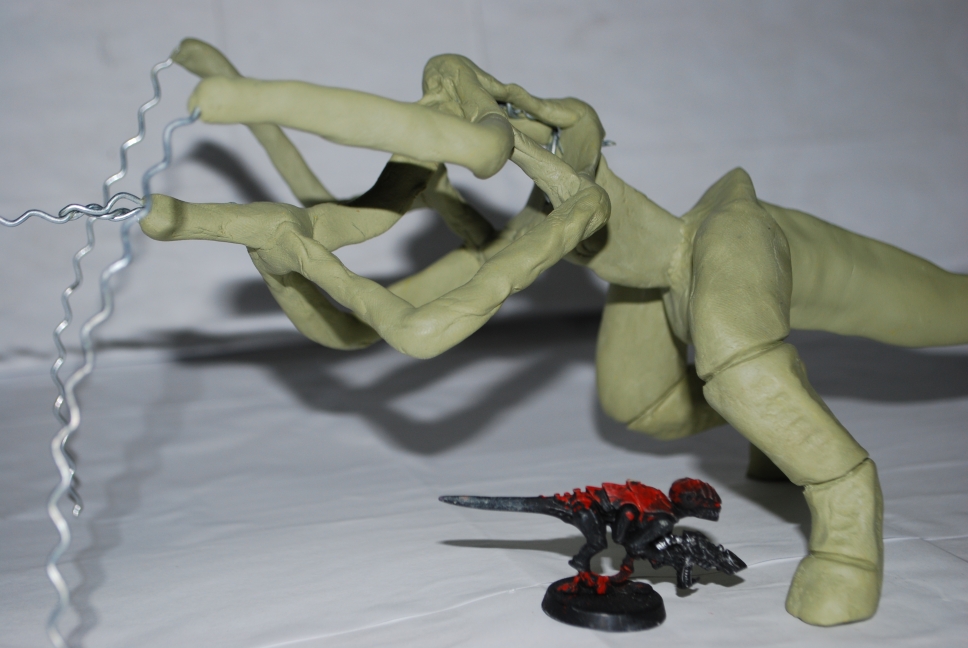
Once the skeleton is fixed I start to build up the body. I usually try to make the body like an Easter egg, i.e. a hollow box. As this keeps the weight down (and the cost of Milliput too).
Here’s the model alongside a Termagaunt for scale.
Body Shell Complete
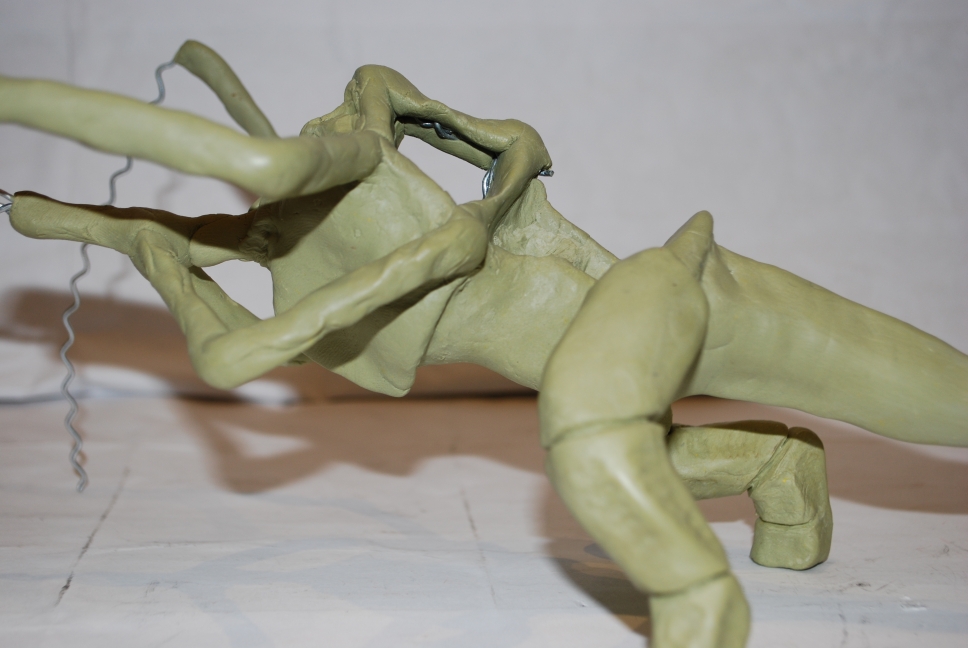
Here’s the body showing the creation of the hollow shell

and from the side
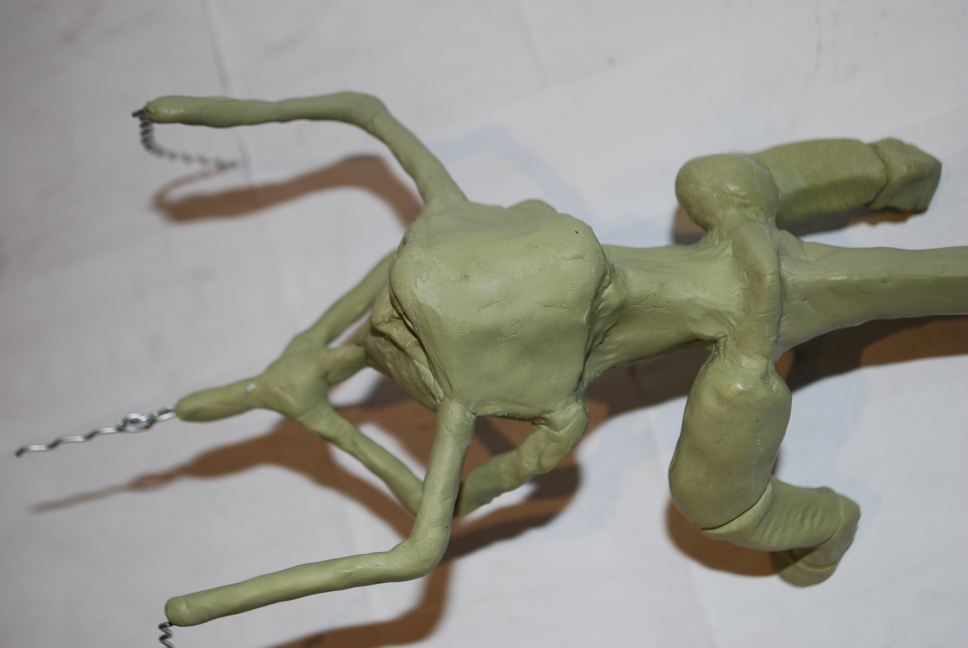
And then finally closed
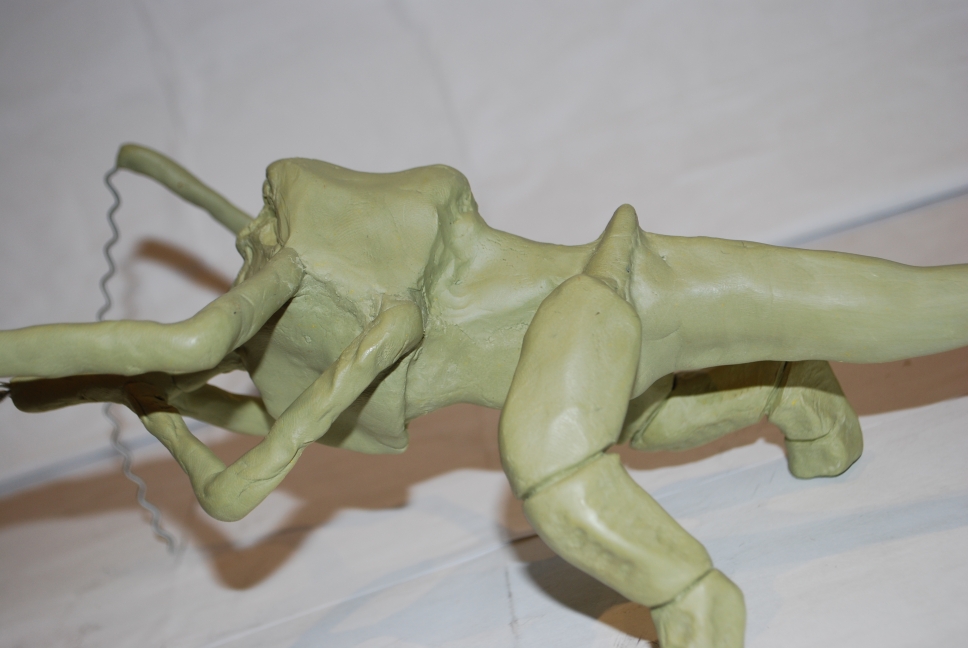
And again from above
Head, Tail and Gun Carcass
Here’s the fleshed out tail with shell. Also the basic mouth and gun carcass.
For the mouth I make the teeth separately first and let them harden. I did the same with the tongue. Then I assemble it all in place

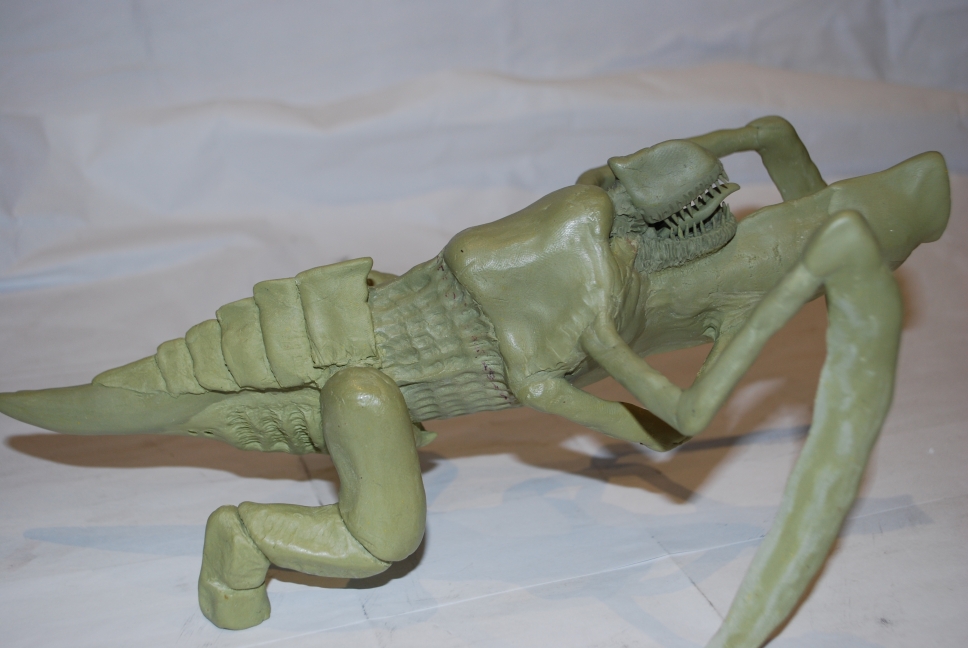
Modelling Finished and Undercoated
Here’s the final model with undercoat. I’ve added a lot of details since the last pictures notably:-
- The head has been given eyes and a shell
- The front scything talons have been beefed up and the thumb spikes added
- The main carapace has been thickened and the breathing tubes added.
- The hands and the gun have been detailed
- The rear legs have been armoured, the hooves created and spikes added.
In this view you can see the details of the scything talons and the thumb spikes

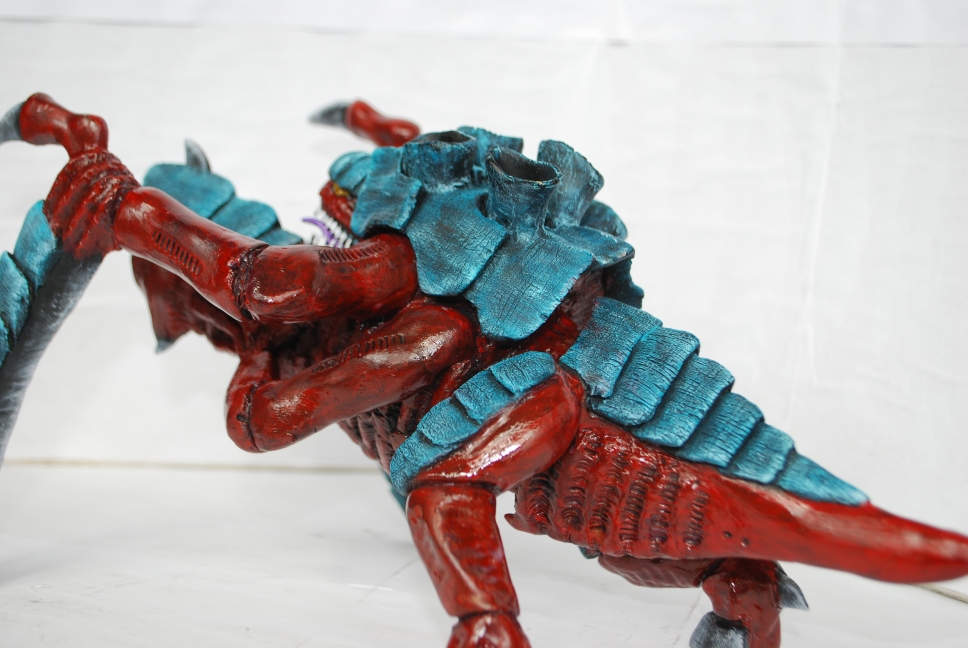
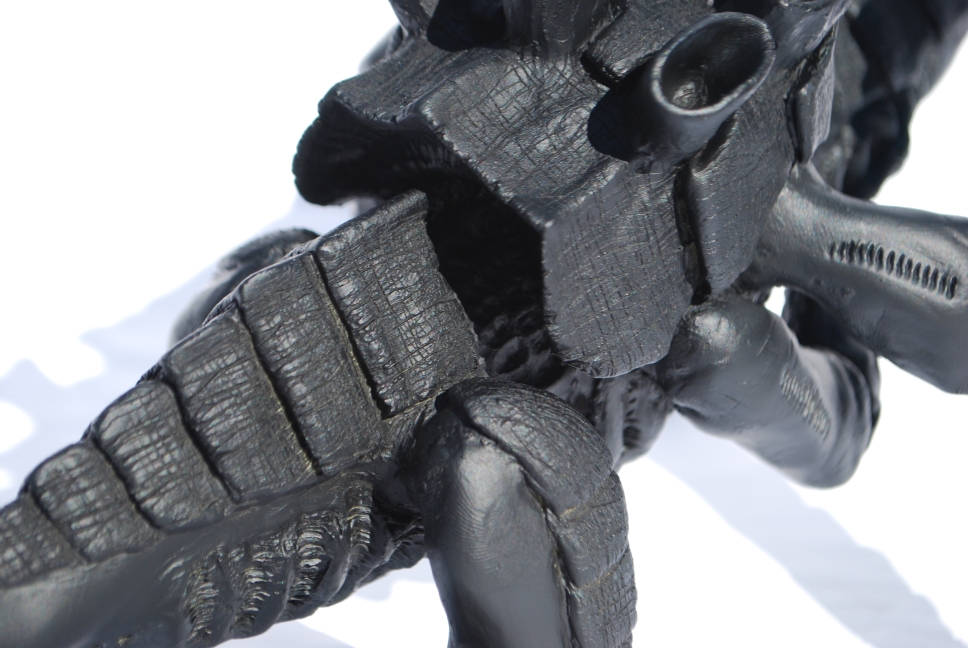
Here you can see the arms and the carpace on the back and the gun.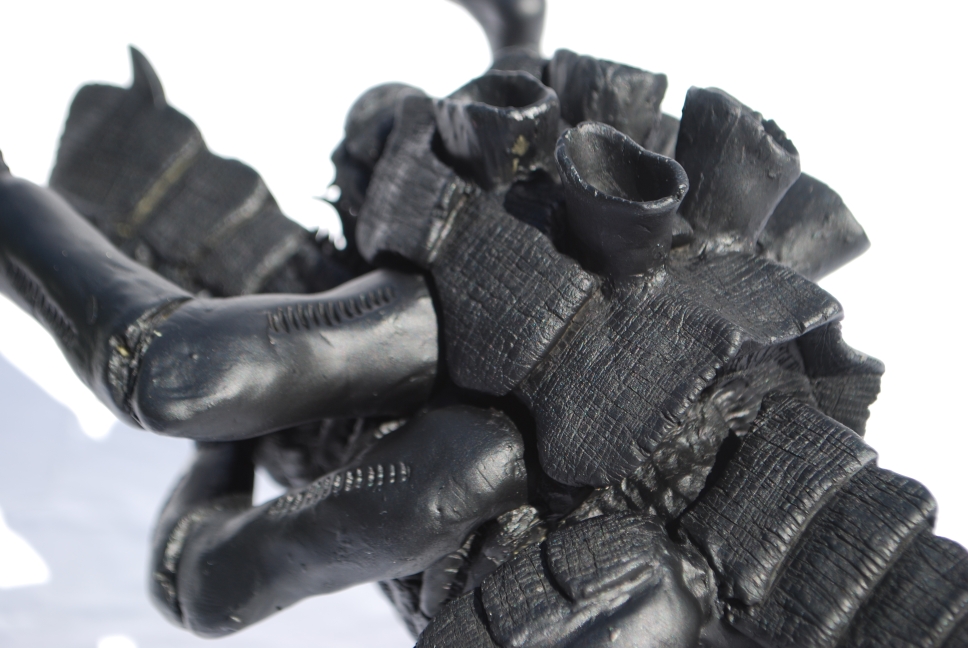
On the back here you can see how I work detail into the carapace. I let the milliput harden and then just cross hatch with a scalpel.
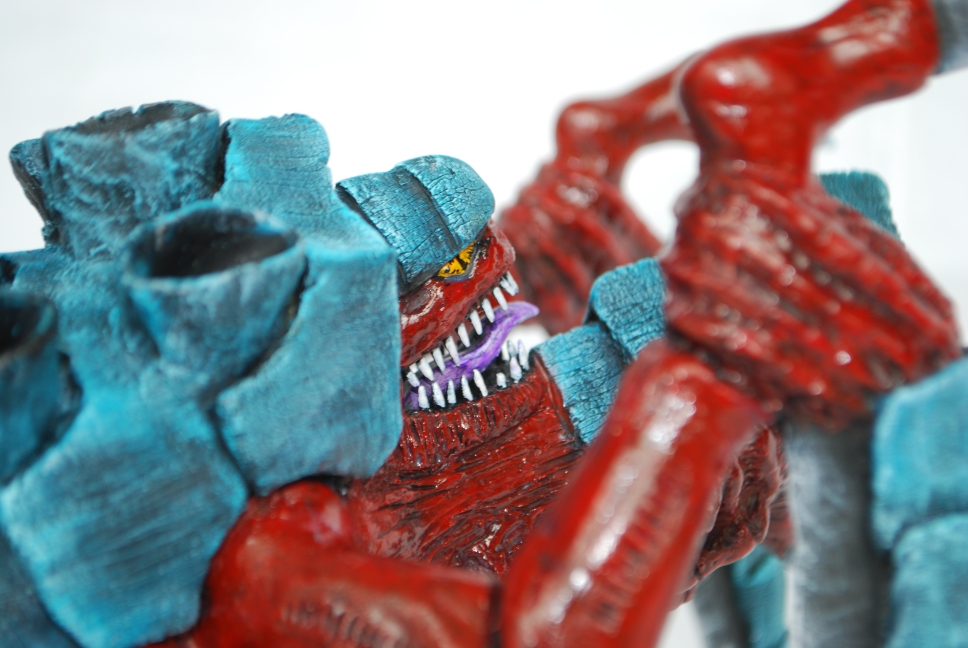
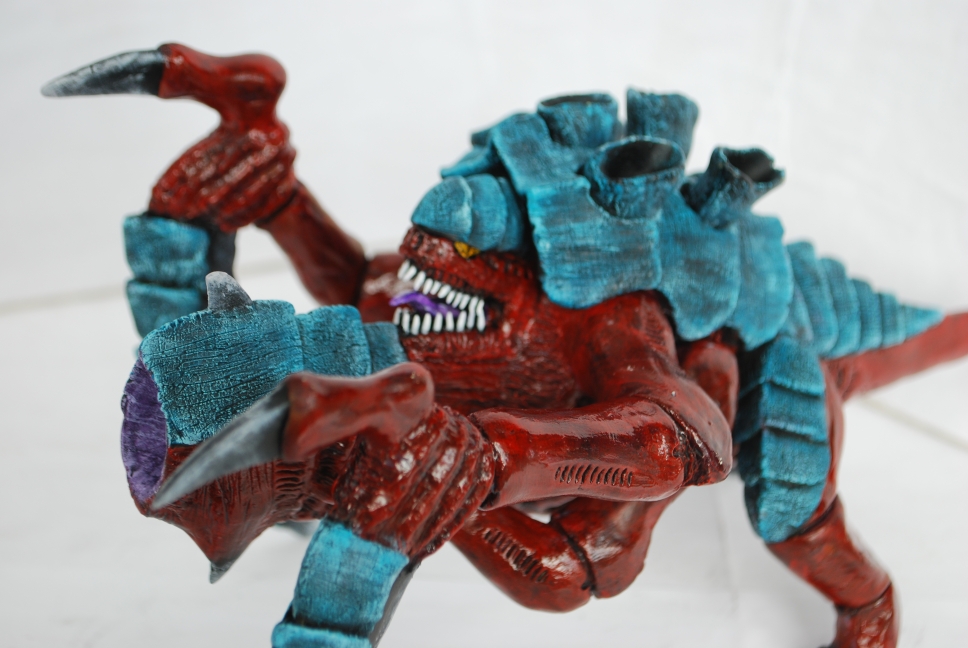
The finished model
I’ve given the model my standard Tyranid paint job.
Skin
- Undercoat the skin in Red Gore
- Second coat of Blood Red
- Then wash with a mix of Ogryn Flesh and Baal Red
- Finally gloss varnish
Carapace:-
- Dry brush Hawk Turquoise
- Add Skull White and dry brush again
- Finally with more Skull White